Use of a More Recent Browser is Recommended
This site uses modern HTML5 features and may not render correctly on earlier browsers. If you use Internet Explorer, version 11 and later is recommended.

 When I asked my daughter what she wanted to be on Halloween she said
she wanted to have an LED dress like Katy Perry. After some
discussion, it seemed that we’d need a white dress that both
diffused but didn’t block too much of the light from LEDs
underneath. We’d need some way to mount the LEDs without
needing to alter the dress itself (since we planned to use it for
other occasions). So we focused on getting a light colored slip she
could wear underneath on which the LEDs would be attached. To
complement the outfit, she wanted a blue wig. The dress, slip, and
wig we used were:
White Chiffon Dress
(~$30)
White Slip
(~$15)
Blue
Wig (~$15) The next part of the design was to decide on the best
way to place LEDs. We wanted to have a broad range of effects so we
decided to use RGB LEDs (with embedded controller chips). We decided
to use a full 4-meter reel of
60 LED/meter NeoPixel
RGB LED Weatherproof Strip backed with a white-color flex PCB from
Adafruit. We decided the best way to mount the strip was in a spiral
around the slip using loops to hold it in place. This is where a
dress dummy would have really come in handy. Lacking one, we picked
up a couple rolls of
bubble
wrap at Home Depot. The bubble wrap we chose was in a roll 2 feet
tall and very close to my daughter’s measurements. We actually
bought two rolls so it would be 4 feet tall and duct-taped them
together. Later a single roll was used as a lightweight way to
transport and display the dress. To form the loops to hold the LEDs we
wanted something strong enough but translucent. We chose 1.5 inch
wide white organdy ribbon from a local JoAnn’s Fabric store.
Once we had situated the LED ribbon in a spiral that we liked around
the slip (when mounted on the bubble wrap roll) — we marked off
where 4 lines of loops would need to be sewed onto the slip (down the
front, back, and both sides). We then removed the LED ribbon from the
slip to begin the sewing. We tried a couple ways to cut down on the
sewing but neither was effective. Fabric cement wouldn’t hold
on those materials. A Singer button magic did help in holding the
strips in place but ultimately sewing was required. I located an old
1950′s sewing machine we had in a closet and used that to sew
the ribbon to the slip at the ~24 attachment points.
When I asked my daughter what she wanted to be on Halloween she said
she wanted to have an LED dress like Katy Perry. After some
discussion, it seemed that we’d need a white dress that both
diffused but didn’t block too much of the light from LEDs
underneath. We’d need some way to mount the LEDs without
needing to alter the dress itself (since we planned to use it for
other occasions). So we focused on getting a light colored slip she
could wear underneath on which the LEDs would be attached. To
complement the outfit, she wanted a blue wig. The dress, slip, and
wig we used were:
White Chiffon Dress
(~$30)
White Slip
(~$15)
Blue
Wig (~$15) The next part of the design was to decide on the best
way to place LEDs. We wanted to have a broad range of effects so we
decided to use RGB LEDs (with embedded controller chips). We decided
to use a full 4-meter reel of
60 LED/meter NeoPixel
RGB LED Weatherproof Strip backed with a white-color flex PCB from
Adafruit. We decided the best way to mount the strip was in a spiral
around the slip using loops to hold it in place. This is where a
dress dummy would have really come in handy. Lacking one, we picked
up a couple rolls of
bubble
wrap at Home Depot. The bubble wrap we chose was in a roll 2 feet
tall and very close to my daughter’s measurements. We actually
bought two rolls so it would be 4 feet tall and duct-taped them
together. Later a single roll was used as a lightweight way to
transport and display the dress. To form the loops to hold the LEDs we
wanted something strong enough but translucent. We chose 1.5 inch
wide white organdy ribbon from a local JoAnn’s Fabric store.
Once we had situated the LED ribbon in a spiral that we liked around
the slip (when mounted on the bubble wrap roll) — we marked off
where 4 lines of loops would need to be sewed onto the slip (down the
front, back, and both sides). We then removed the LED ribbon from the
slip to begin the sewing. We tried a couple ways to cut down on the
sewing but neither was effective. Fabric cement wouldn’t hold
on those materials. A Singer button magic did help in holding the
strips in place but ultimately sewing was required. I located an old
1950′s sewing machine we had in a closet and used that to sew
the ribbon to the slip at the ~24 attachment points.

We returned the slip to the roll of bubble wrap and carefully threaded the LED strip in a spiral through the loops. This worked pretty well but ultimately it was helpful to finish with some hand stitching at a few points along the side to ensure that the strip was clamped tightly and wouldn’t start sliding through the loops. After that point, we never needed to unthread the strip. Our daughter was able to put the slip on herself — essentially gathering together the concentric rings of the spiral and either stepping into it or putting it over her head. That brings us to the electronics and software. My daughter wanted to wear the costume to her school’s Halloween parade, to her piano recital (done in costume for residents at a local retirement home), and for Halloween itself. One challenge was figuring out where to house the battery and electronics. The costume needed enough power to operate the 240 LEDs for a couple hours. I usually use 6-cell NIMH battery packs which have enough capacity (5000 mAh) for the power requirements but wouldn’t really be light enough to put on the dress itself. So the thought was to use something else she would carry to contain the electronics. For her first two events, I came up with the idea of creating a sort of glowing purse that lighted up in sync with the dress. And for Halloween itself, it was natural to use her pumpkin-shaped treat bucket to carry the electronics as well as some candy.
So we wanted a design where the electronics/battery could be swapped between two different carriers. Each container would have 3 elements: a power switch, a connector to the dress, and a backlit selection button to change modes on the dress.


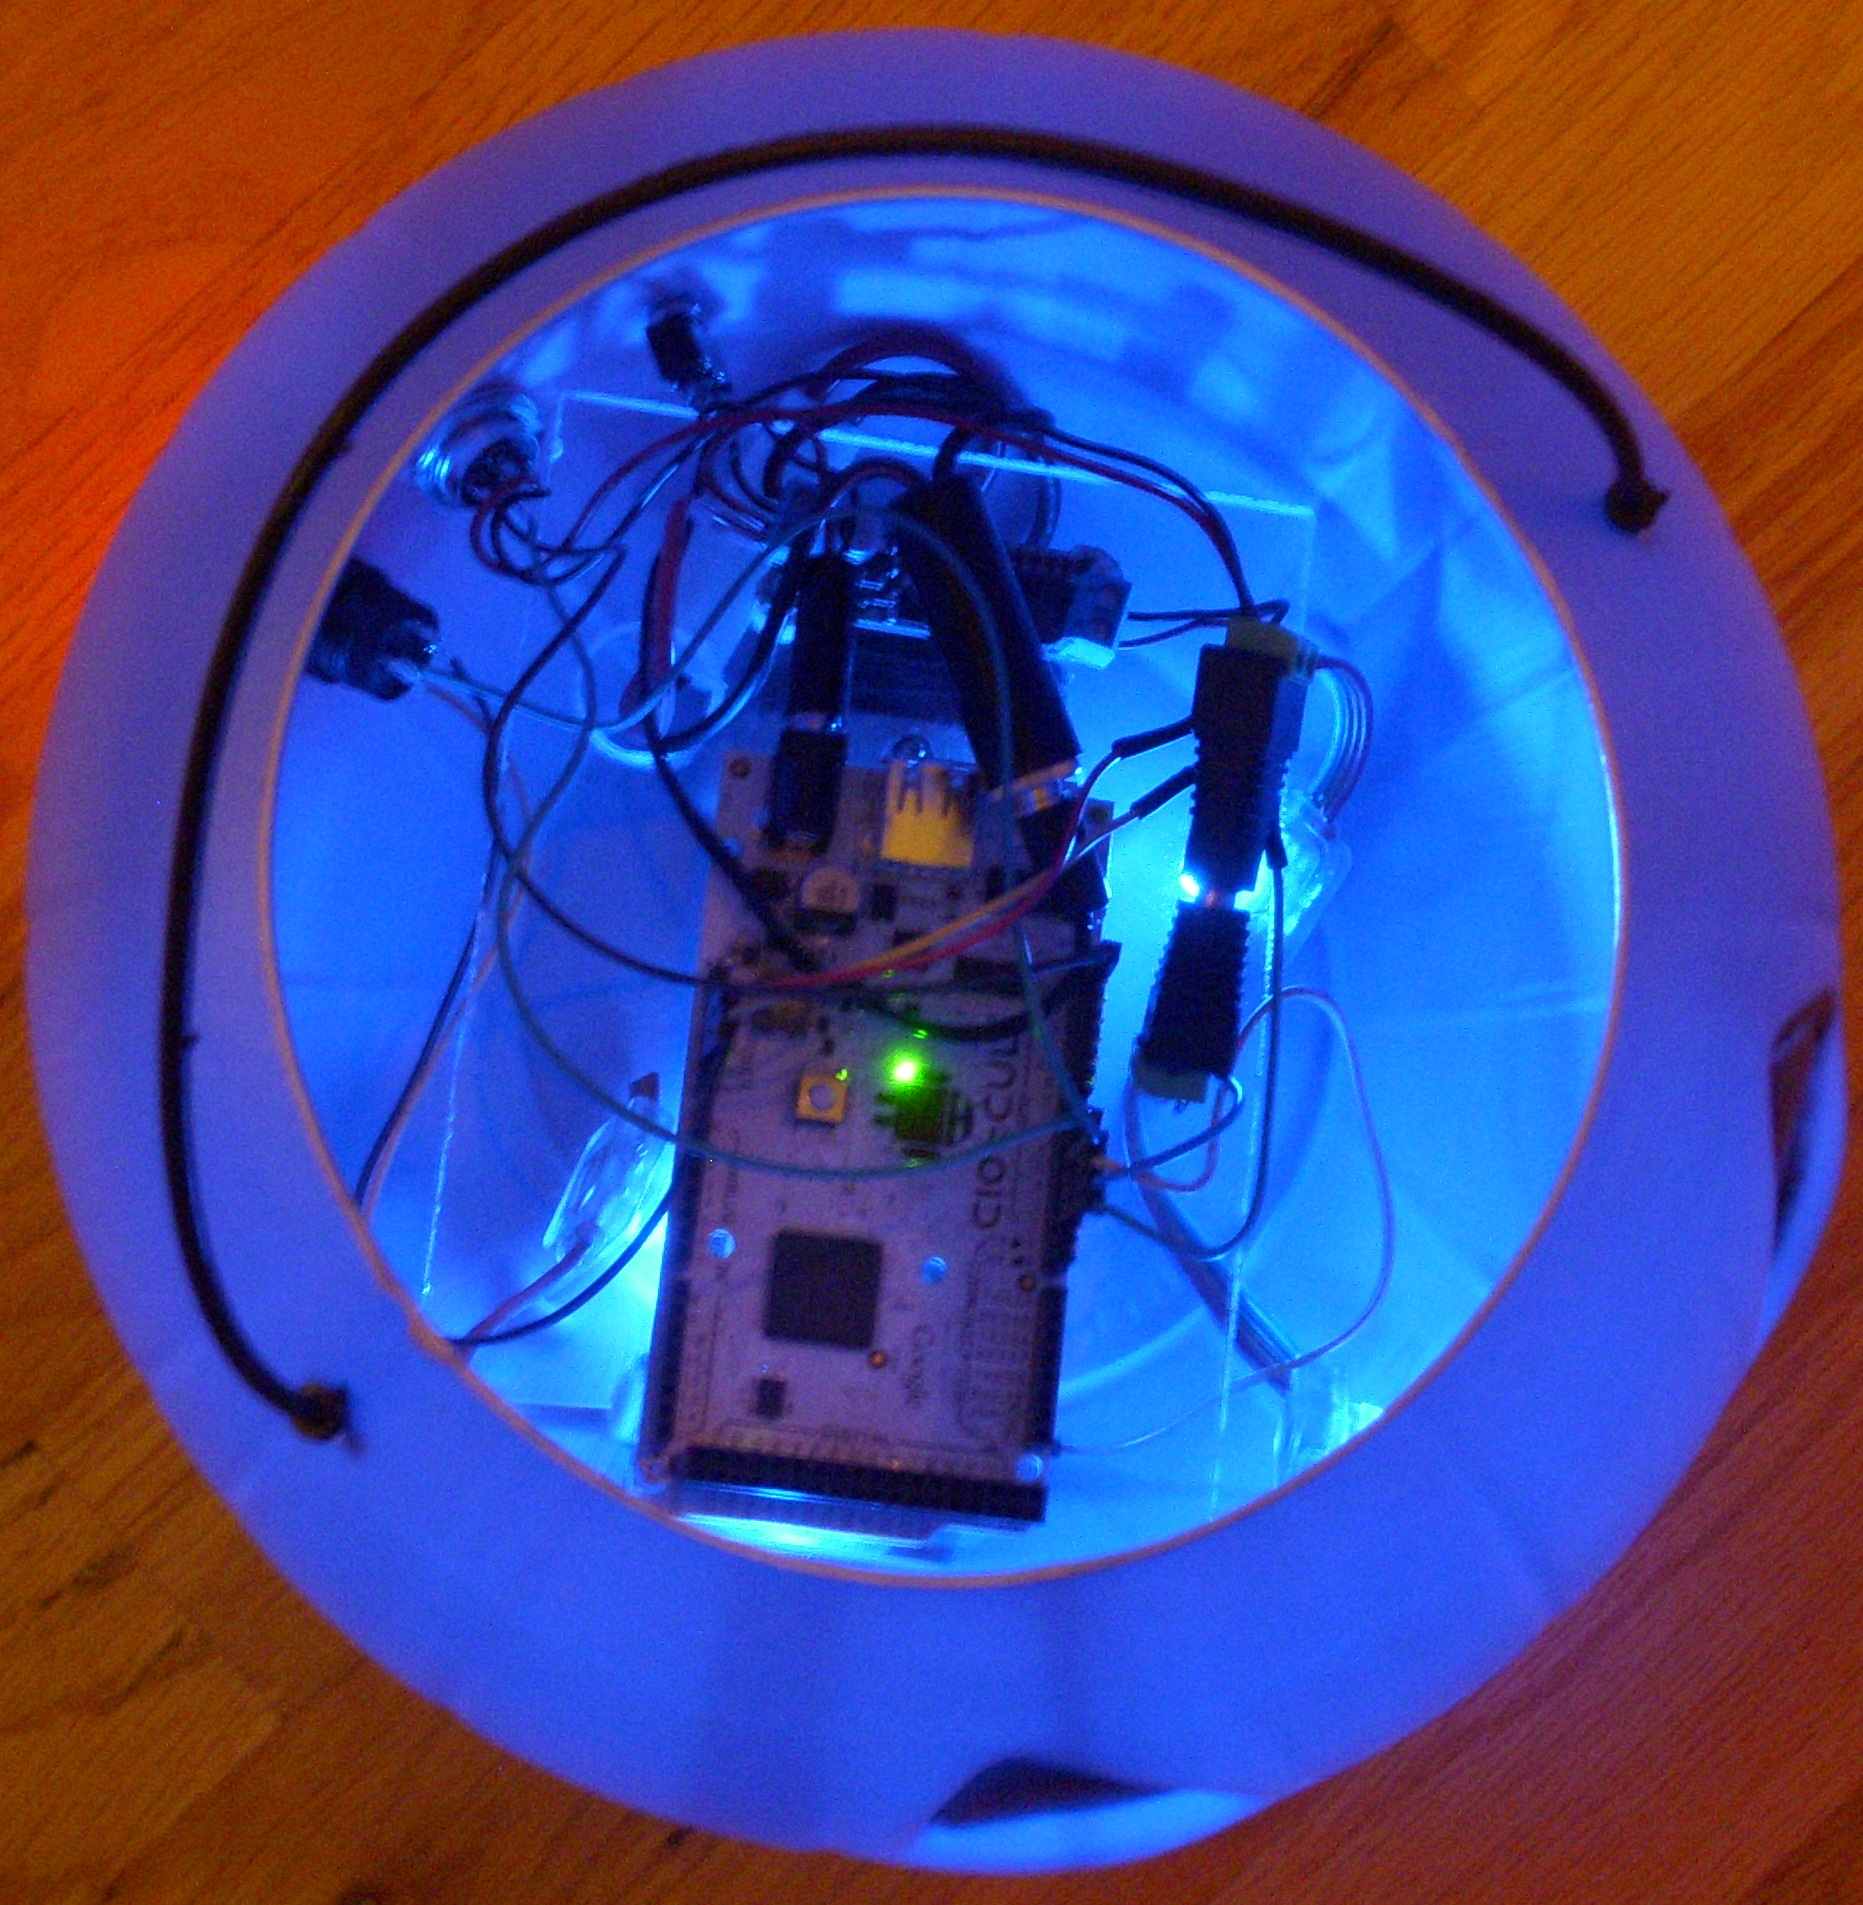
For the purse-like design, I built things around the Small Handled Clear Case from the Container Store . This is a small acrylic case. One can easily mount the switch, button, and plug on the top of the case. The case interior is about 6 3/8″ long and 4.5″ wide. I cut a piece of 3/16″ thick acrylic into a 6 3/8″ x 4 3/8″ rectangle. I mounted an Arduino Mega and switching 5v regulator on one side of the acrylic rectangle (using spacers) and attached Velcro straps to hold the battery pack on the other (I drilled a large hole so the battery cable could pass through the board). I used hot-melt glue to attach 4 acrylic guides on the short edges of the case so the acrylic board could slide in. The guides were 2 5/8″ x 5/8″ and were spaced 1.5″ away from the short sides — allowing 1/4″ for the board to slide in between them. I used some small 1.5″ pieces of acrylic to position the guides the correct distance away from the sides while gluing.

The pumpkin treat pail was much easier (I put it together quickly the night before Halloween). I used a blue pumpkin pail ($2 at a local ToysRUs) to match her blue wig. The switch, plug, and button were mounted at the rear bottom of the pumpkin using drilled holes. The acrylic board rests in the bottom of the pumpkin battery-side down. I used a flexible plastic plant drip tray to insert into the pumpkin to seal off the electronics from the rest of the pail and to allow candy to be carried.

An Arduino Mega was chosen because the project drives 4 meters of LED strip with 240 LEDs. The Arduino has to have sufficient RAM to buffer the RGB values to be shifted onto the strip. I was fortunate enough to have an Arduino Mega (ADK for Android) board available that I’d picked up for free at Google I/O that I utilized (which opens up the possibility of controlling the dress from your phone — but I’ll leave that for another project). Due to the current handling needs I chose a Pololu Step-Down Switching Regulator (#2111) which can handle 7A continuous. For most LED patterns and intensities I used though the power requirements are far smaller. The regulator stepped down from the 7.2V delivered by the NIMH pack to the 5 volts required by the LED strip. The Arduino was driven directly off the 7.2V battery (with it’s own internal regulator). I used a 5000mAh NiMH pack but a somewhat smaller one should work well too. Here’s a full summary of the parts used for the build:
The diagram below shows how the components are layed out. A series of plugs allow the switch, jack, and button to stay with the container as the electronics are removed. The connections to the Arduino were made with strips of headers which can also be unplugged. The NIMH pack supplies both the 5V regulator and the Arduino with control through a power switch. The regulator provides 5V to the NeoPixel strip over the dress connection. Pin 6 of the Arduino is used to send instructions to the NeoPixel strip over the dress connector. Since only a few WS2801 pixels were on the internal strip it happens to draw it’s 5V from the Arduino’s regulator. The Arduino also provides clock and data for controlling the WS2801s. The mode button is both a button and a light and the Arduino can control the lighted button independently (I had considered putting an RGB LED in the button to match).

The sketch running on the Arduino is emmadress.pde . It controls a 4-meter strip of NeoPixels using the Adafruit NeoPixel library. A few extra pixels to light up the case are controlled by the WS2801 library. The code consists of a number of display routines. The routines each have a loop but check whether the button is pressed during the loop. If the button is pressed, they exit immediately with a false value which causes the main control loop to jump to the next mode. Mode 0 automatically cycles between different display routines while the other modes continue with a single display routine. Hitting the button jumps to the next mode eventually returning again to mode 0. Some of the routines take advantage of the spiral nature of the strip to have vertical movement on the dress — through assumptions of how the strip wraps and which pixels are above others. The rain effect is one of these. When pixels flash briefly — as in the sparkle mode — full intensity is used. Other routines which show many pixels use a brightness variable so that each pixel isn’t as bright.
The dress worked out really well. She wore it several times. The first was at a piano recital where the kids were to wear their Halloween costumes. She used the clear acrylic box controller and just set it on the piano bench as she played. The second was at school for their Halloween parade — which was a challenge because visiting parents weren’t allowed to help them with costumes — so she had to put it on and arrange it herself. And last was Halloween night. We went on the longest Halloween outing yet (over 2 hours). The battery lasted those 2 hours and far longer than I would have guessed. It was definitely her most exciting costume yet. She got lots of compliments from the neighborhood kids and parents.
Here a video of the pumpkin controller in action:
And here are a couple of videos of Halloween night:
The full-intensity sparkle mode is shown below. Quite a safe/visible costume.